 I wanted to create a form that had connected elements using the ovoids and spheres I had used previously but with some movement so that some sections were elevated away from a flat visual plain. I used a range of different props and broken kiln shelf to support the elevated parts. I realised after that I should have used clay wads between the prop supports that wouldn't shrink in the firing, as the clay shrinkage may have caused breaking/cracks or movement I didn't want. As it turned out I didn't need to be concerned as it never even got to the kiln in one piece! I make most of my pieces directly on a kiln shelf and as I was loading this onto the shelf to await loading, I caught the edge of the shelf as I lifted it and the jolt was heavy enough to knock the supports out from underneath causing the fragile dry greenware to break off and because of the nature of the construction it was like dominos tumbling, the whole thing had to be reclaimed!!!  I retained a couple of sections of the piece to fire and use as glaze testing pieces.
This was another disastrous making day, and I had no one else to blame other than myself and my lack of coordination!! Post Christmas assessment left me feeling very unsettled, although I got good marks and feedback from my assessment, I felt unsatisfied with the work, and did not feel like it was conveying for me what I was trying to say. I was starting to question whether the focus on Fungi was either not enough or too much and I couldn't work it out and settle myself into any kind of making rhythm. I looked back into my earlier learning agreements, and the work I had been interested in when I moved away from the very landscape/texture based forms I had developed in year 1, form and clean lines have always been strong aspects of my aesthetic but texture and organic surfaces have also continued to be features in my pieces, so I decided to see if I could incorporate some of these elements into the fungal forms. I then went down a bit of a 'rabbit hole' and made two pieces of work where the subject of the work was fungal based but I wanted to push the 'other worldly' surreal aspects and see what came out of the other side. I revisited the work of Toni Losey who I came accross at the International Ceramics Festival, whom I have written about separately here www.weebly.com/editor/main.php#/ below is an image of Toni Losey's work and you can see from this piece the references I was trying to make, albeit a poorer attempt to echo her style.   Although this piece was interesting to make I did not feel that it was successful and was too big a departure from what I had only just started to develop, I was questioning if I was just repeating old patterns of behaviour. I had got bored, things were not working so well right now, so let's change tac. The problem with this approach is you end up being ok to average at several things, instead of really investigating and developing an idea with real conviction. I could have pushed this style of work and continued to investigate the potential, and yes it would have gotten better, become more refined but I knew that I would be bouncing onto something new without seeing my existing work through so I stopped. I had also discovered some work by a Uruguay artist called Carol Young that I was really interested in, Her work, like that of other ceramic artists I am influenced by, work held those same echoes of curved, organic forms, with smooth lines and shapes and a quality of softness despite the material. Below are some images of her work taken from Instagram/Google, there is not much written about her online, but there is something beautiful and evocative about these forms. This self-doubt, sense of imposter syndrome and general feeling of not knowing what I was trying to do continued into February and I found myself trying to recreate one of Carol's pieces with a view to using glazes I had been developing to change the look and style of the piece. Again this was a 'rabbit hole' and although it kind of worked it was far too much of a 'copy' and the glazing wasn't particularly successful. Again more indepth learning and development was going to be needed to create quality work and I realised that I needed to stop and re-evaluate exactly where I was at and what needed to happen to shift me back into a more positive and creative mindset. Below are images of this piece. The one on the far right shows the piece glazed, I tried playing around with gloop glaze that I had been testing at the same time and spraying on underglaze but I wasn't convinced of the outcome being successful, it was too polite in it's boldness, so not polite enough and as such I felt didn't work. It either needed to be much more intensely glazed with colour and effects or not at all. Leaving it plain would have been better in my view but not acceptable as a piece I could expand on as it was just too similar in aesthetics to Carol Young's piece, I was reminded what Austin Kleon said, "Great Artists don't copy they steal". It was time to have another rethink!
By the time I had reached the point of presenting work for my assessment, I had already begun to experience a shift. I was doubting what I was making and what I was going to do next and how I was going to build on and develop further what I had done. Breakages continue to plague the making which is impacting on both motivation and my ability to develop the work as exploring within a style/process is hampered by failures. Fungi continues to intrigue and fascinate me and my research continues through reading, watching presentations, joining mycological groups and foraging. Here as an extract from my learning agreement that pertains to what I am aiming for with my work, my intended outcomes... "To continue to develop a more focussed approach to my practice and sustain the ability to stay on task, to seek constructive feedback on the work and stay positive and confident in my ability to produce this work. To be more experimental in exploring ideas and become less outcome, ‘finished piece’ focussed. To embrace and immerse myself meaningfully into an idea and concept and use research to help embed my thinking. I hope that by continuing to take the time to hone my skills and improve the quality of construction, whilst being open to experimenting with materials, that this will lead to a cohesive, well considered selection of pieces that I can then use to inform a body of more resolved sculptural work. I want the pieces to have a meaningful concept that has integrity as well as an evocative aesthetic. " Below are images of work displayed for assessment I wanted to see what the lichen glaze would look like if coloured, and thought that it would be best to do this on a white clay body. I had a large bisqued sphere of Ashraf Hanna stoneware left over from another sculpture and had kept this to utilise as a test piece for glaze. I made up a batch of Linda Bloomfield's Lichen Glaze (see glaze note book) and then added different stains which I applied in random lines over the sphere. Whilst in the glaze room I recalled a discussion about the effect of Nepheline Syenite added to clay body, that it can look very oozy, runny and gelatinous. I had seen Gavin Webster our AA2A artist use this previously in his work so I decided to try it out on the top of the piece, it's very strange material to apply weird thixotropic properties. Fingers crossed for some interesting results, here it is before glazing. I will add to the post with the results. 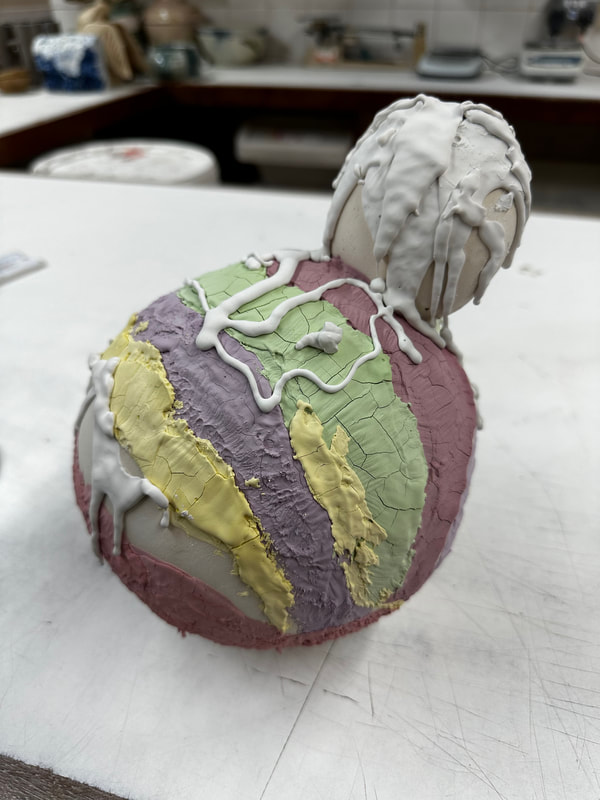 Here are the results .... 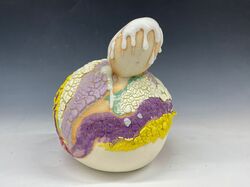 It's really interesting to see what the lichen glaze has done to some of the stains I added to the glazes, the lilac and yellow coloured stains have blended and mixed well showing some good crawling, this could look really striking on a darker clay body. 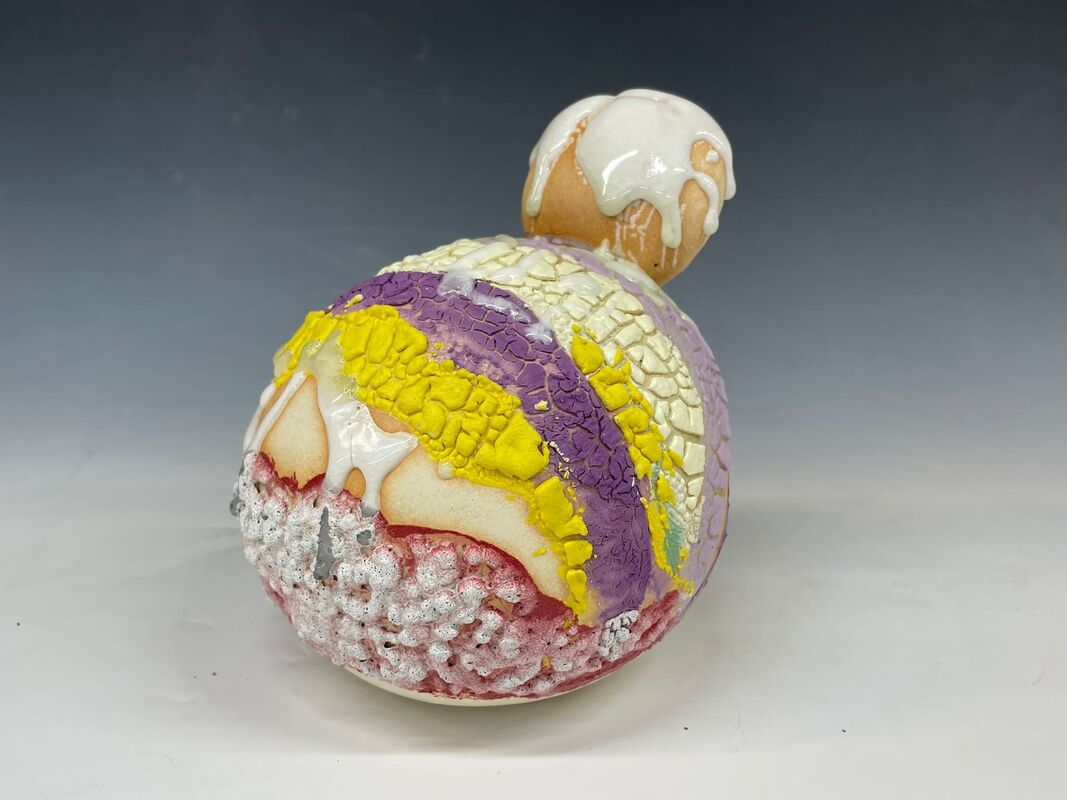 The chartreuse green has almost disappeared apart from the edges and the deep red stain looks like it's been pushed back and is sitting behind the lichen surface but the glaze hasn't properly crawled either.. 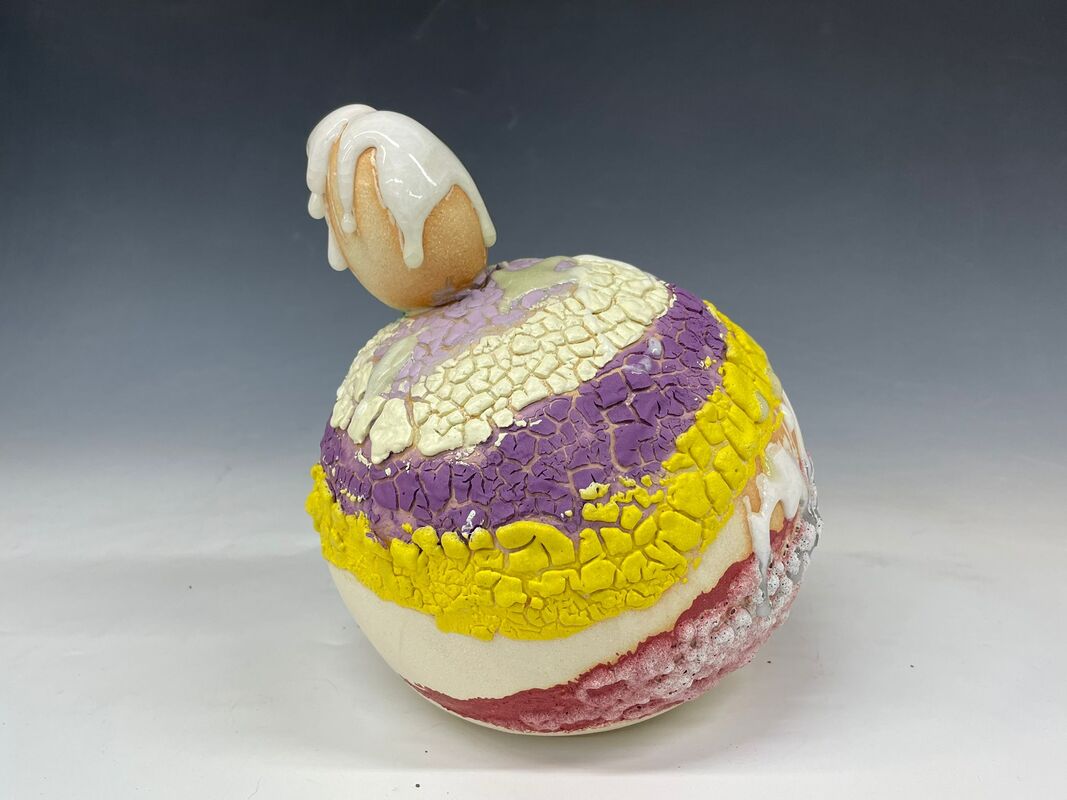 I love the oozy, wet gel like effect of the nepheline syenite, it has such weird, organic properties to it that I need to explore how it takes colour to see what effects are achievable. I can see this working oozing out of cavities in fungal sculptural forms.
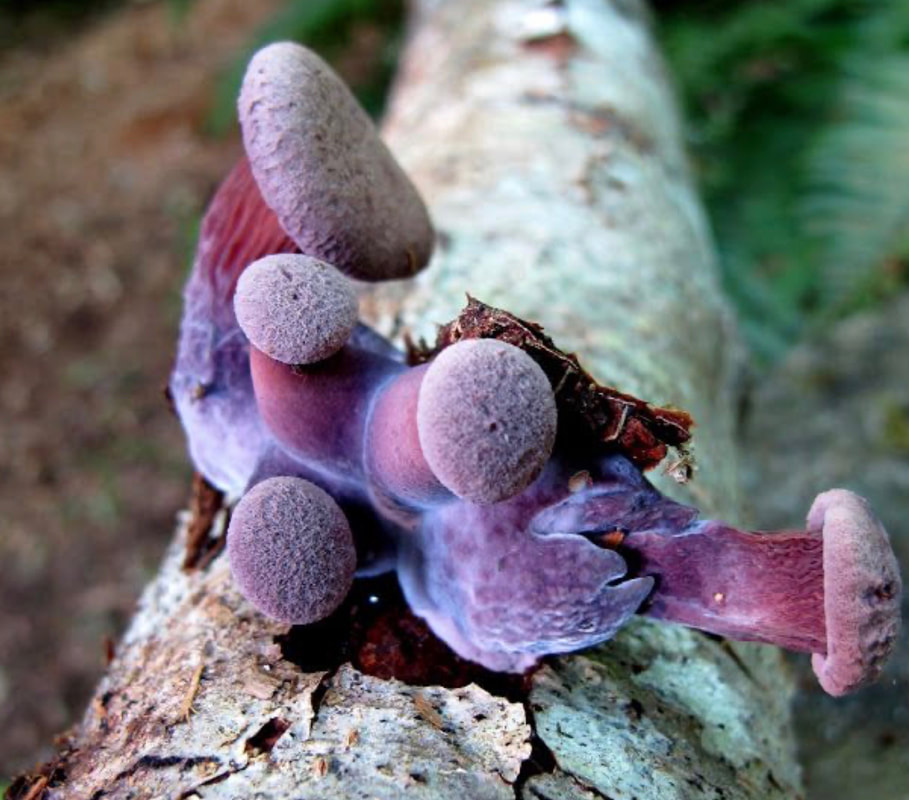 I have always been fascinated by fungus and mushrooms, lichens and moss. I would be immediately drawn to examine mushrooms discovered on walks, intrigued by how nature created organisms that have such complex, unusual and at times down right bizarre shapes and forms. Initially my interest lay purely in their forms, I loved the gills, the colours, their ability to grow and thrive in the strangest places. I was brought up to be aware that they were also dangerous things and had the potential to make you very ill or even kill you and they shouldn't be touched. I have collected big chunks of bracket fungus and dried them out as decorative items. I have made ceramic mushrooms in the studio and collected fungal art for my home. But up until recently I realised how little I knew about what an incredible organism fungi is, so I have spent quite a bit of time reading, watching and listening to fungal experts and even now I feel like I have barely scratched the surface of what there is to know. Fungi is everywhere, we eat it, wear it, breathe it, it's present inside and outside our bodies, it is found in countless medications including life saving anti-biotics, it can cure us, kill us and has the power change our minds and transform our thinking and provide countless ways to enable us to live more ecologically. Fungi can break down rock, is responsible for the evolution of plant and then animal life on earth, can survive in space, can talk to trees & can zombify insects. As humans we have always believed that any living organism has always needed to possess some kind of brain in order to have the ability to act with intention but fungi is proving that this is not the case, a study of lichen moulds being able to accurately navigate their growth through a maze is causing scientists to re-examine what they know and understand about this. Today there is a strong appetite for developing research into fungi, with the discovery of mycelium (the tangles of hyphae that we don't usually see and which form the biggest part of the fungi, sometimes stretching for miles and miles underground). Mycelium communicates and works symbiotically with trees, and other species of funghi and plants through this complex micorrhizal network, sending signals that warn of danger and that enable them to share nutrition. This signalling has been dubbed the "Wood Wild Web" because of it's similarities to the internet network. The fungi we see in nature is the fruiting body of the mycelium network, it's the end result of a complex web under our feet and it is the means of survival of that species. The fruiting body sends it's spores out in a variety of intriguing and sometimes macabre ways, from exploding puff balls that shoot spores into the air, through to the Ophiocordyceps unilateralis that infest carpenter ants, grows inside them, zombifies them into climbing a tree and then shoots spores out of the ants head and body. 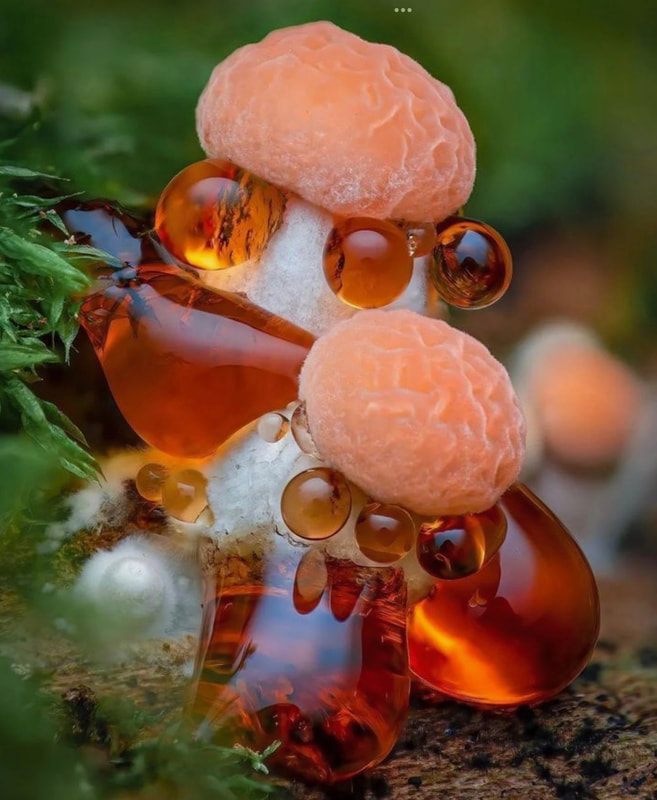 There has been a long standing history of fear mongering and concern about the psychotropic effects that some mushrooms have on the mind and human behaviour. Mushrooms have been used in sacred ceremonies within ancient Aztec and Inca tribes for centuries. In the 60's and 70's 'Magic Mushrooms' became very popular and was part of the 'make love not war' ethos of the younger generations of this time. So much so that any mushrooms containing the hallucinogenic chemical Psilocybin were banned here and in the USA and to this day remain illegal in the UK, Psilocybin is a Class A drug, the same category applied to Cocaine and Heroin! There is lots of new and ongoing research happening that has been legally ratified to explore the potential benefits of Psilocybin on people with acute and long standing mental health issues including chronic depression and PTSD so it will be interesting to see if this classification or the use of controlled use of the substance changes in the future. There are many anecdotal testimonies from people across social media talking about the benefits of micro-dosing Psilocybin and lots of groups helping people to safely identify and use native hallucinogenic mushrooms that grow in the UK, so it's clear that the use of mushrooms for more than just recreational purposes isn't going anywhere 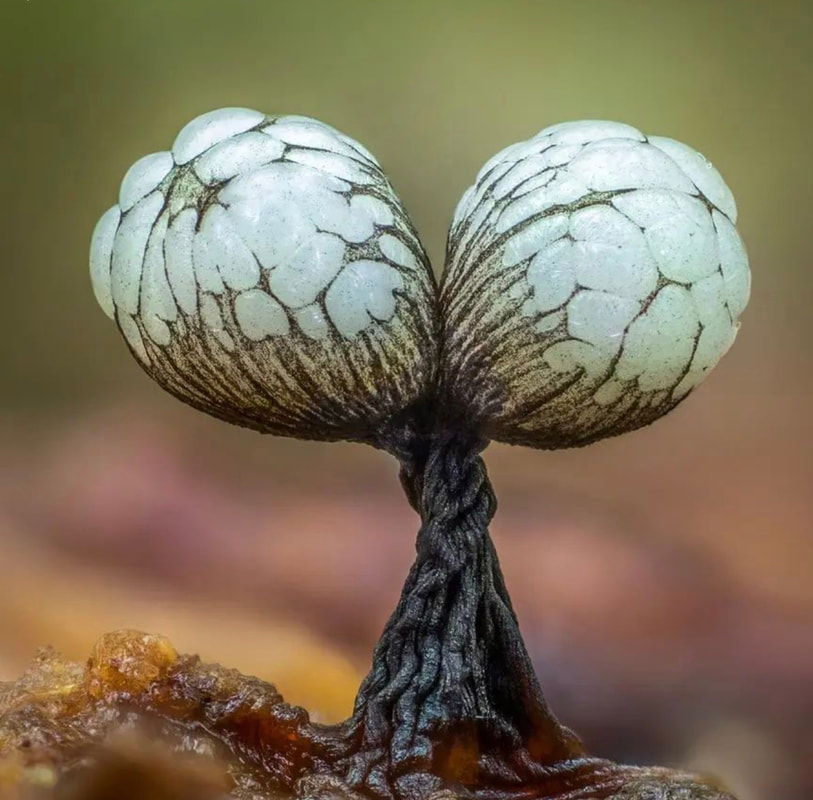 There is a lot more to write about Fungi and I will continue to update this post as I go along but for me there are three main reasons that I want to use fungal forms as a basis to inspire and influence my work. Firstly they are such interesting and fascinating things to look at, each is unique and different and their forms and shapes are very inspiring to me. They can evoke both fascination and revulsion in the viewer and I would love to evoke some similar reactions by making work with a surreal, other worldly quality to it. I am also fascinated by the similarities between human behaviour and that of fungi, specifically the symbiotic nature of the micro-risal networks, in some ways human relationships operate in the same way, as families, as friendship groups, as work colleagues, as members of a community and members of society we work together most of the time to help, support and care for each other. I don't think we do it as well as fungi do and we could learn a lot from the way they grow, connect and share and to me that's an important message. Lastly I hope that by making work in this way there is an opportunity to start a conversation about the incredible nature of these organisms, maybe someone will do some research of their own, maybe it could raise awareness about the importance of mushrooms and the need to protect, preserve and fight for the the natural world in which they thrive. 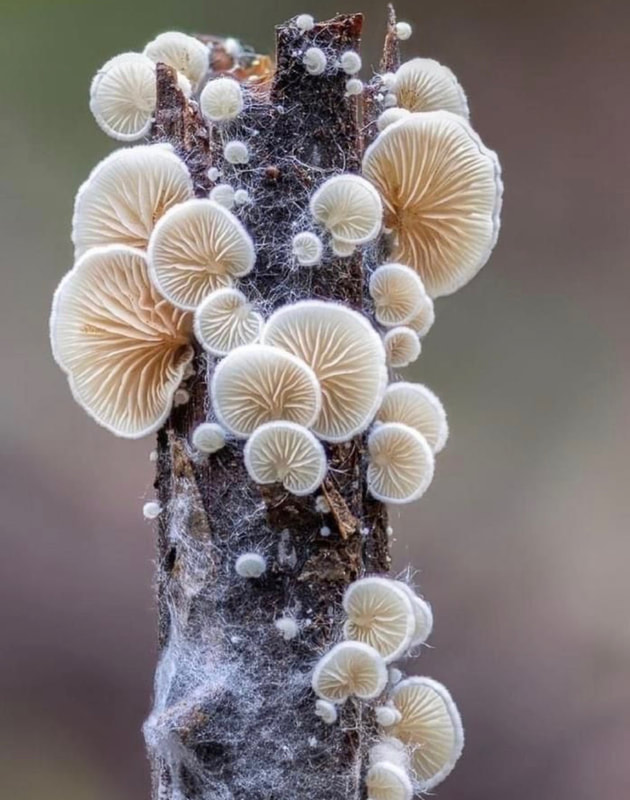 Following feedback from my last assessment I have deleted the previous list of artists I admire or am inspired by from my blog and decided to focus on artists whose work more directly relates to my own practice. I have also written more about ceramic art I have seen in exhibitions and galleries so please refer to the separate headings of 'Ceramics in the Public Domain' and 'Ceramic Artists' at the top for more in-depth details.
I wanted to see what the lichen glaze would look like if coloured, and thought that it would be best to do this on a white clay body. I had a large bisqued sphere of Ashraf Hanna stoneware left over from another sculpture and had kept this to utilise as a test piece for glaze. I made up a batch of Linda Bloomfield's Lichen Glaze (see glaze note book) and then added different stains which I applied in random lines over the sphere. Whilst in the glaze room I recalled a discussion about the effect of Nephelyine Syenite added to clay body, that it can look very oozy, runny and gelatinous. I had seen Gavin Webster our AA2A artist use this previously in his work so I decided to try it out on the top of the piece, it's very strange material to apply weird thixotropic properties. Fingers crossed for some interesting results.  I used both surface decoration and silk cocoons dipped in porcelain slip for these pieces. I chose a more heavily grogged black stoneware body, I then applied white porcelain slip followed by sodium silicate to the clay slab, once both layers had dried I stretched out the slab on a board creating fissures and cracks and colour contrast. I then cut and formed the ellipse's before adding the silk cocoons. I had ordered the cocoons online, I soaked them in the porcelain slip before hand so they could absorb as much as possible and hopefully the hollow shapes would be left once the cocoon had burned away. Below are the two pieces I made before firing. 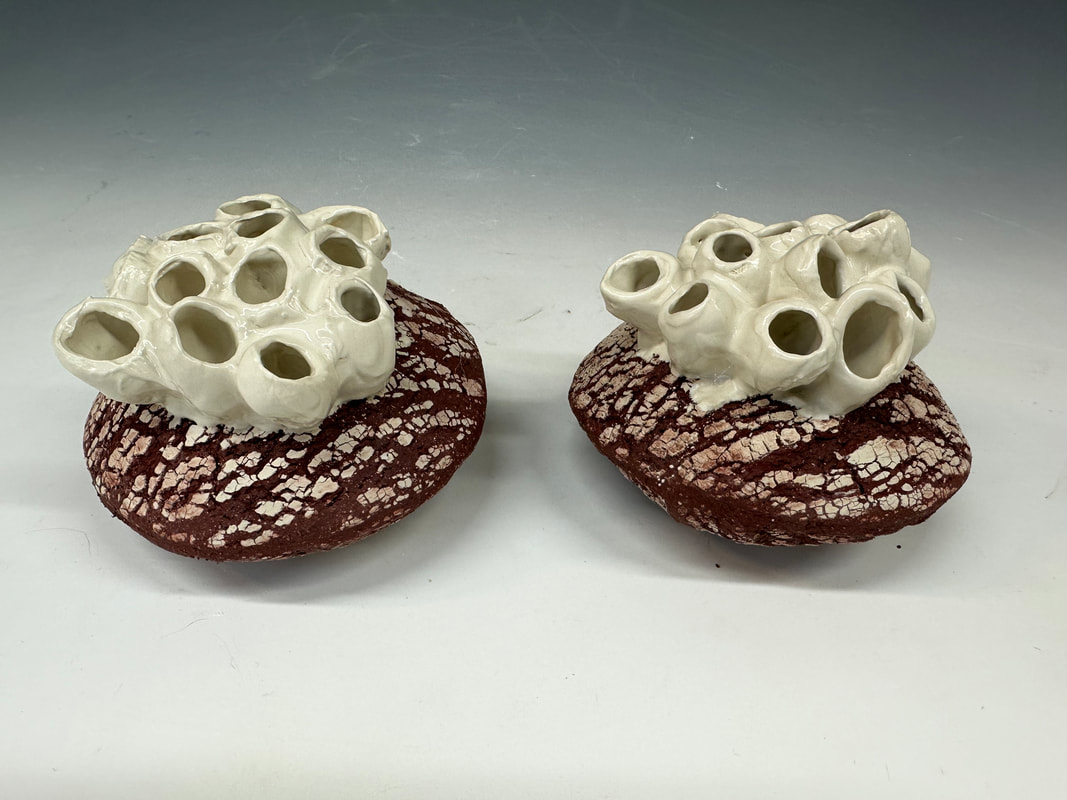 Here are the pieces after firing, they were single fired to stoneware temperatures. The porcelain slip shells have held their shape really well so I was pleased with the results of these pieces and can see the potential in utilising organic matter to create texture and shape in future pieces. I chose to use a mix of the lichen glaze and some clear glaze and copper oxide to finish off these pieces. Again there were some issues with the clear glaze that I used which went milky over the surface. I will need to thoroughly test some clear glazes that fire reliably on this black clay body. I am keen to avoid a glaze that is too shiny, and would prefer to explore ways of achieving a contrast between matt and gloss in the finish. I had hoped to explore the possibility of spraying underglaze onto the pieces as the ceramic artist Toni Losey does in her work, but this is something I haven't achieved yet but still plan to do going forward. This module has been one of the hardest ones for me, I have had more breakages in the making than ever before and I have probably been in the worst place mentally that I have been for a long time and this has definitely had an impact on my motivation as well as the flow of ideas and creativity. I am feeling more positive now about the next steps, being able to record all the elements of the creative process within this blog really helps to solidify and pull together my ideas and helps me to see that I am making progress and moving forward. 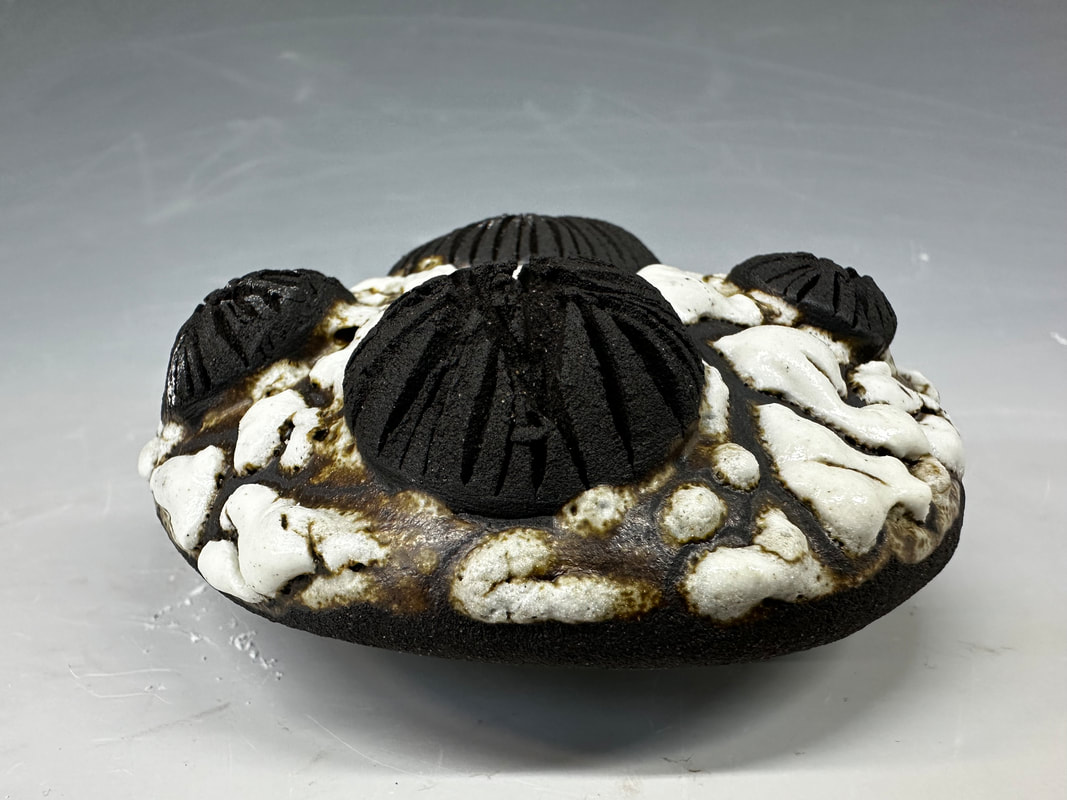 Below are more images of the maquette's after glazing, some of them are really pleasing and could work at different scales as sculptural pieces. I think there is potential to incorporate more colour and to explore some different shapes for the base form. I am also keen to look at introducing more openings and additions into the pieces. |
AuthorStella Boothman Archives
February 2024
Categories |


 RSS Feed
